
19K
Summer is right around the corner and if you ask me it’s about time! I cannot wait for the rising temperatures, pool days, and of course my summer clothes! What better way to be prepared for the changing season, than revamping your closet? I found the best DIY project to transform my old plastic flip flops into spazzy summertime sandals (which are incredibly comfortable). Most likely you already have these items for this project in your closet. No sewing, glue, or even new materials are needed. There’s no excuse to put off this simple summer craft. Use the steps below to create this project today!
Supplies:
- 1 pair of plastic flip flops
- 4- 3 inch x 24 inch strips of scrap fabric
- scissors
Steps:
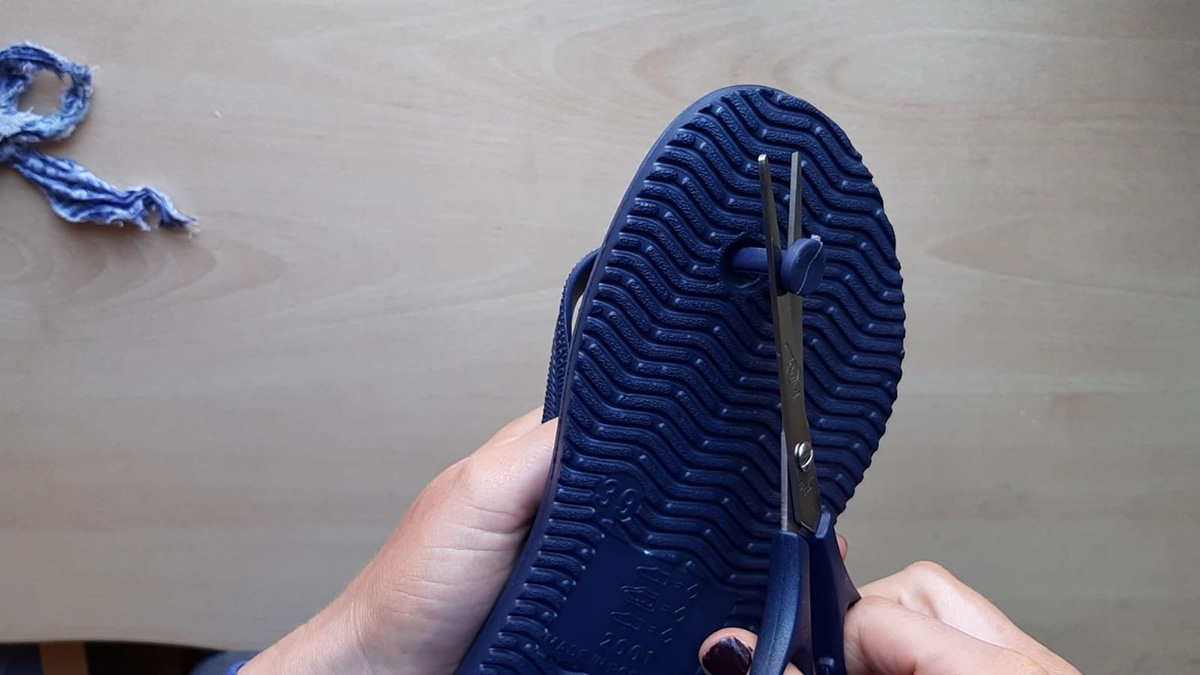
- Cut the plastic straps and remove them from the flip flops. You won’t need the old strap anymore and the new straps are much more comfortable!
- Take your cut fabric and make a point at the ends so it fits through the holes in the flip flops. This makes it easier to push the fabric through the holes on the flip flops.
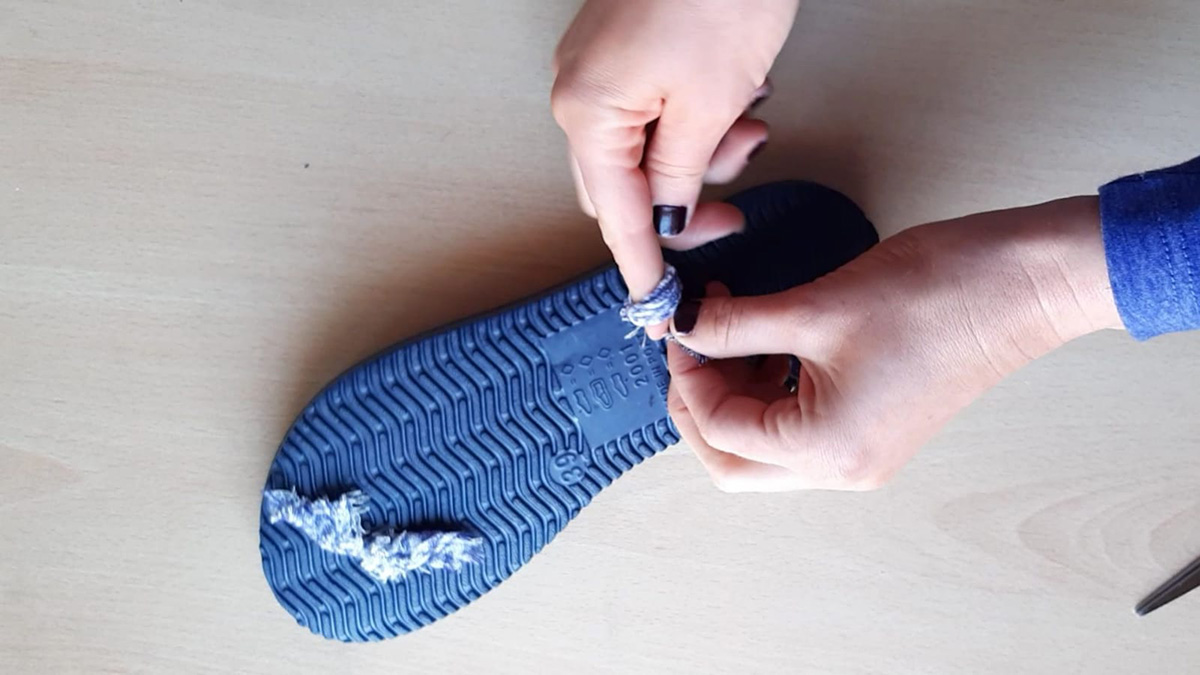
- Place the ends of two strips of fabric through the toe of the flip flop. Tie the two pieces together into a small double-knot. The knots you make should be small enough to nestle into the hole on the bottom of the shoe.
- Cut off the excess fabric.
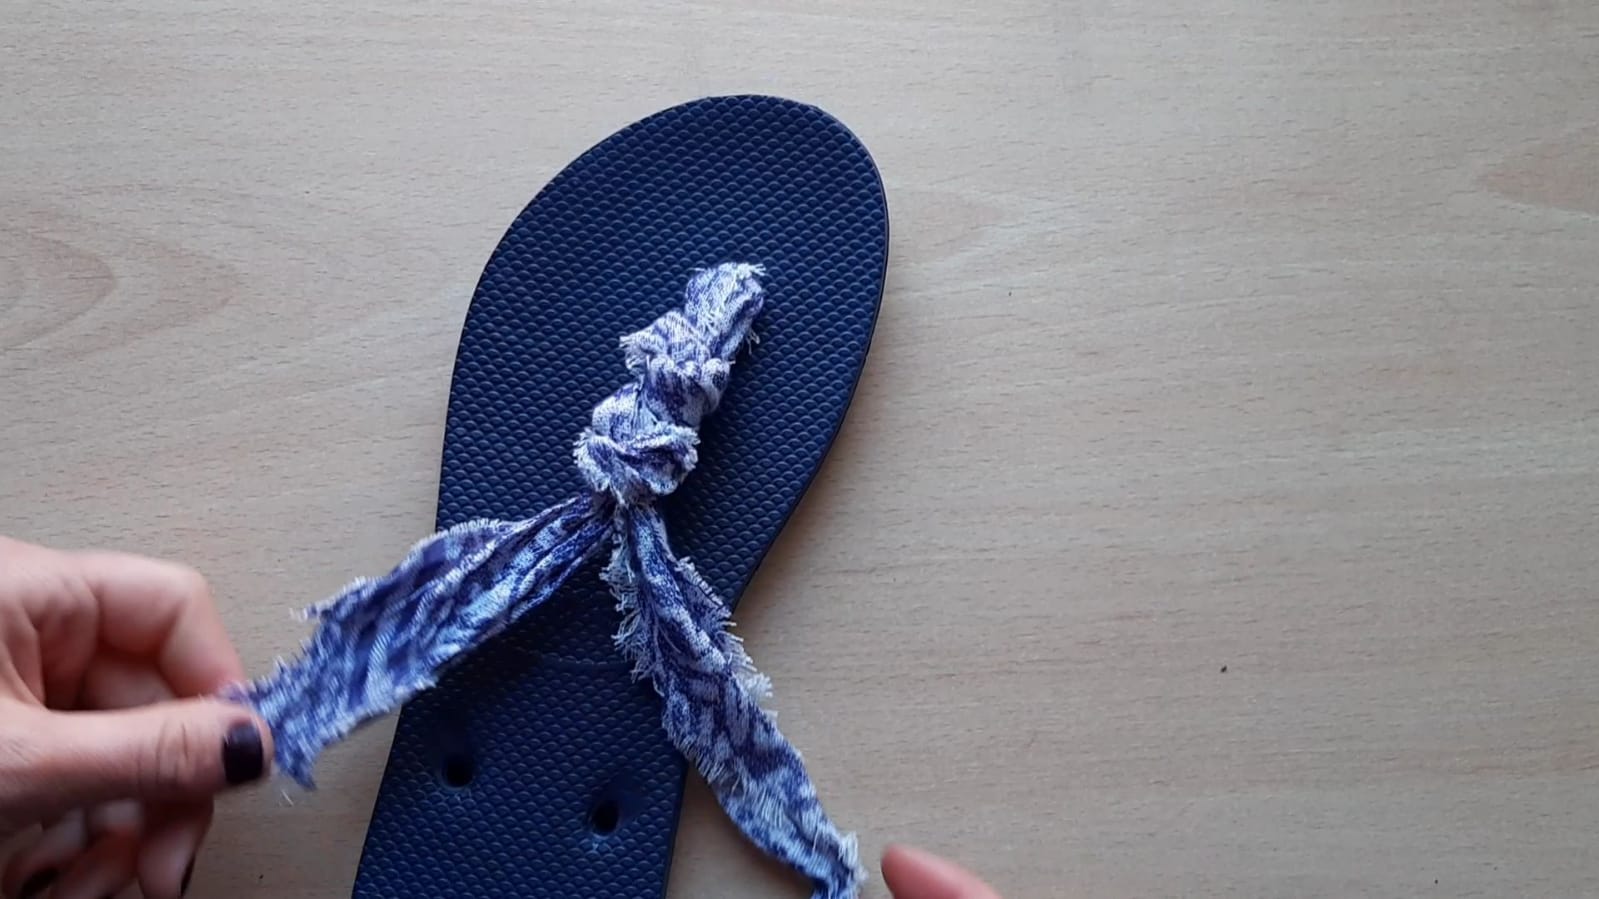
- Place the flip flop right side up and tie a knot about an inch from the toe hole.
- Tie a second knot behind the first.
- Pull the other ends of the fabric through the holes on the side of the flip flop.
- Try on the flip flop to fit the strap to your foot.
- Tie a knot in the fabric on the bottom side. Remember the knot should fit into the divot on the bottom of the flip flop.
- Walk in the sandals to make sure they fit well. If they are too snug, retie the knot. If you would like, you can hot glue the bottom of the flip flop to secure the hold.
- Put them on, walk around, and show them off! Enjoy your summer in a comfortable and stylish fashion.
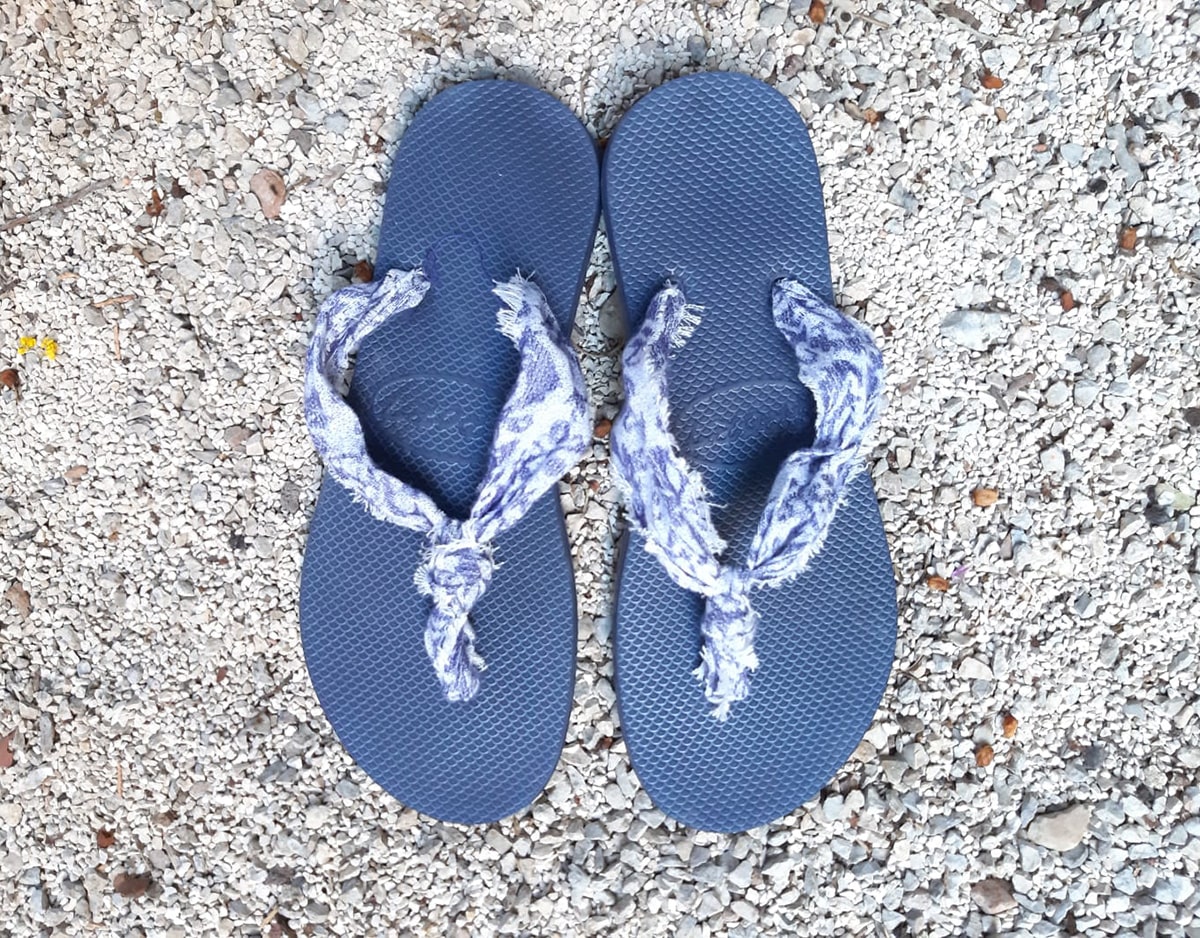
With a craft this quick and easy to make, you can have flip flops to match every summer outfit!